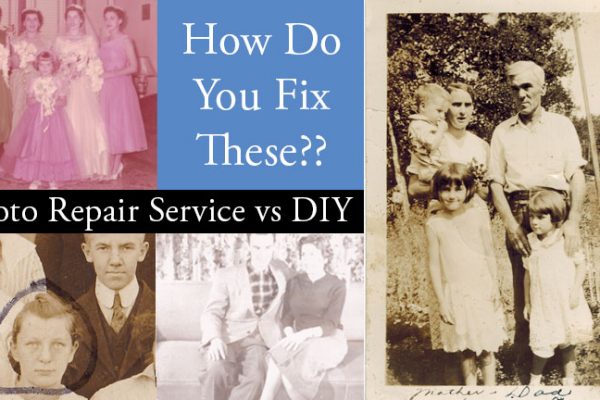
If you don’t want to pay a professional photo scanning service to scan all those old black and white photos and stacks of fading Polaroids you have stashed away, why not scan them yourself? It is not that difficult, but it will take some time. Once you have them scanned you can archive them on CD or DVD and then edit, enhance and have fun with them. There are all kinds of things you can do with your digitized images, from creating a family history photo book to posting them on your personal website, emailing them, printing them to display, and more.
While you won’t need a ton of expensive equipment to scan photos at home you will need a computer, a good quality scanner, and some photo editing software to make color corrections and fix scratches.
Scanner Guide
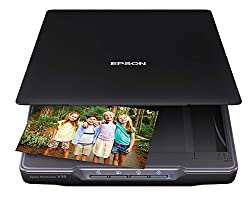 Flatbed Scanner – If you have hundreds of photos to scan, getting a dedicated scanner is a good bet. It is perfect for scanning paper photos in both color and b&w. To scan slides and negatives, you need a scanner with a transparent materials adapter (TMA), which allows it to import slides and negatives. A flatbed scanner will run you $100-$200 and up. The Epson Perfection V39 Color Photo & Document Scanner is a good, well-priced choice. It has software that will automatically restore faded colors and remove dust and it only costs approx $99.
Film Scanner – This is a bit more expensive, but if you have mostly slides or film to scan it will make your job a lot easier and you will get better results. This will cost around $150 or more.
All-in-One Printer/Scanner – This works fine in most cases unless you have thousands of images to scan. In fact, it is what I used when I scanned a hundred or so printed photos for my husband’s birthday photo book and they came out great. Some models will scan slides and film as well as prints. All-in-ones range from $100-$200+.
Before You Start Scanning
Check images for lint and dust specks. This will save you many tedious hours of editing out dust specks later. Using a soft brush or lint-free photo wipes, gently clean the photos. If you are scanning slides, you can use canned air like you use to clean computers.
Clean the scanner glass. Any dust specks or smudges on the glass will appear on your scanned images. Using a lint-free wipe, carefully clean the scanner glass. Take a tip from the photo scanning service pros and wear white cotton gloves when you are working with the scanner and photos to avoid leaving smudges from skin oils on either surface.
Set the type of scan. Most pros recommend that you use the color setting even if you are scanning old black-and-white photos because it gives you more flexibility during the editing process. Generally, you will want to scan photos at 300dpi at minimum, 600dpi is better.
Scanning
First position the image. Place your image face-side down on the scanner glass. Make sure your image is straight. Some scanners will allow you to preview the image before the final scan is made so you can ensure the image is straight. On the preview, crop the image to eliminate any unnecessary borders so only the image is included. The higher-end scanners will automatically crop the photo for you. Ignore the settings for brightness, contrast, and other corrections, just scan the basic image and make all edits later in your photo editing software. Depending on the image size, it may take a few seconds or a few minutes to complete each scan.
Saving Your Scan: Decide on a file format
The two main formats are TIFF and JPEG. TIFF files are much bigger but provide greater detail. Pros recommend saving images as TIFF files, especially if you will be printing them larger than 4×6. JPEG is popular because it doesn’t take up as much space on your computer, but there is some compression of information resulting in a small loss of quality. While it may not be a big loss at first, if you are editing and saving and then re-editing, the quality degrades a little every time you save the image. If you are only planning on scanning for sharing via web or email or printing no bigger than 4×6, then JPEG may be sufficient. You could save as both: TIFF files for archiving the originals and another copy as JPEG.
Naming Your Files
If you are scanning a lot of images, it is wise to give them descriptive names and create files by year, occasion, event, subject, etc. to help you organize your scanned images afterward.
Saving an Archive Copy
Before you proceed further, make an archive copy of each scanned image and save a copy, either on a thumb drive, external drive, or DVD. Do not, under any circumstances, edit these images. These are your archived originals for safekeeping. You can go ahead and edit and play with other copies of the images to your heart’s content. As a rule of thumb, when you are planning to edit any image it’s a good idea to save it as a copy first, so you can easily revert to the original if you mess up. To distinguish it from the original, I like to keep the same file name but add “edited” to the end of the file name: “may-picnic-017-edited.tiff.”
Editing Your Digitized Images
Great! The scanning process is done. Are you wishing you had used a photo scanning service by now? Next comes the creative part – editing and correcting your scanned images. Now you can remove scratches, tears, and stains and restore the color back to that original, glorious Kodachrome color. My favorite programs for doing correcting and enhancing are Adobe Photoshop Elements, Photoshop and Lightroom Classic. Also, Corel PaintShop Pro is another good choice and all have great tutorials.
If all this seems too overwhelming, you may want to reconsider that professional photo and slide scanning service after all. Visit this link for an overview of services.