Introduction
Photography is an immensely creatively rewarding venture of its own accord, but how do you make it financially rewarding and lucrative as well? There are a lot of ways of earning money from photography, the most common being undertaking photoshoots for clients. But what if you have a bunch of photographs sitting on your computer and you want to earn a passive income by selling them? Well, lucky for you, selling your photos online has never been easier!
Gone are the days when website building was a complicated technical venture. With no-code website builders, you can create a full-fledged website complete with online galleries, ecommerce capabilities, social media integration, SEO and marketing tools, and much more.
Pixpa is an all-in-one website builder specially designed to empower photographers and creative professionals by helping them build feature-rich professional websites, without touching a single line of code. You can build a full-featured photography website with Pixpa and sell your images online effortlessly. But first, let’s find out why you should choose Pixpa!
Why Pixpa?
Pixpa is the perfect website building platform of choice for photographers because it has been designed with their needs in mind. From a full range of photographer-friendly templates to ecommerce enabled online galleries to showcase and sell your work, Pixpa gives you everything you need to share, sell and promote your work — all in one place!
Ecommerce Galleries
Pixpa’s ecommerce galleries allow you to merge your photography portfolio with your online photo store seamlessly. Clients and customers can view your portfolio and order high-quality photographic prints or digital downloads directly from your ecommerce galleries. Print orders can be self-fulfilled through a lab of your choice or auto-fulfilled through WHCC. Pixpa also offers the option of a traditional online storefront. With features like inventory management, shipping, taxes and discounts management, abandoned cart recovery, and more you can start a full-fledged online business to monetize your photographs.
Commission-Free
Pixpa charges zero commissions on sales made through your website. However, keep in mind that payment gateways like Stripe and Paypal may levy their own transaction fees on each transaction.
Client Galleries
In addition to this, Pixpa also offers features like client galleries and marketing and SEO tools to help you level up your photography business even further. Client galleries are personalized galleries that you can share with your clients to simplify your client-proofing workflow. Clients can view and shortlist photos from the client gallery for their final album. They can also order prints of photos directly from the client gallery. Marketing features include marketing pop-ups, announcement bars, cookie consent bars, and more. You also get a full suite of SEO tools to ensure your website gets more clicks and traffic through Google and other search engines.
How to Sell Your Photos Online with Pixpa?
So how do you set up your Pixpa website to sell your photos online? First, you have to create your very own photography website through Pixpa. It’s easy!
Creating Your Photography Website with Pixpa
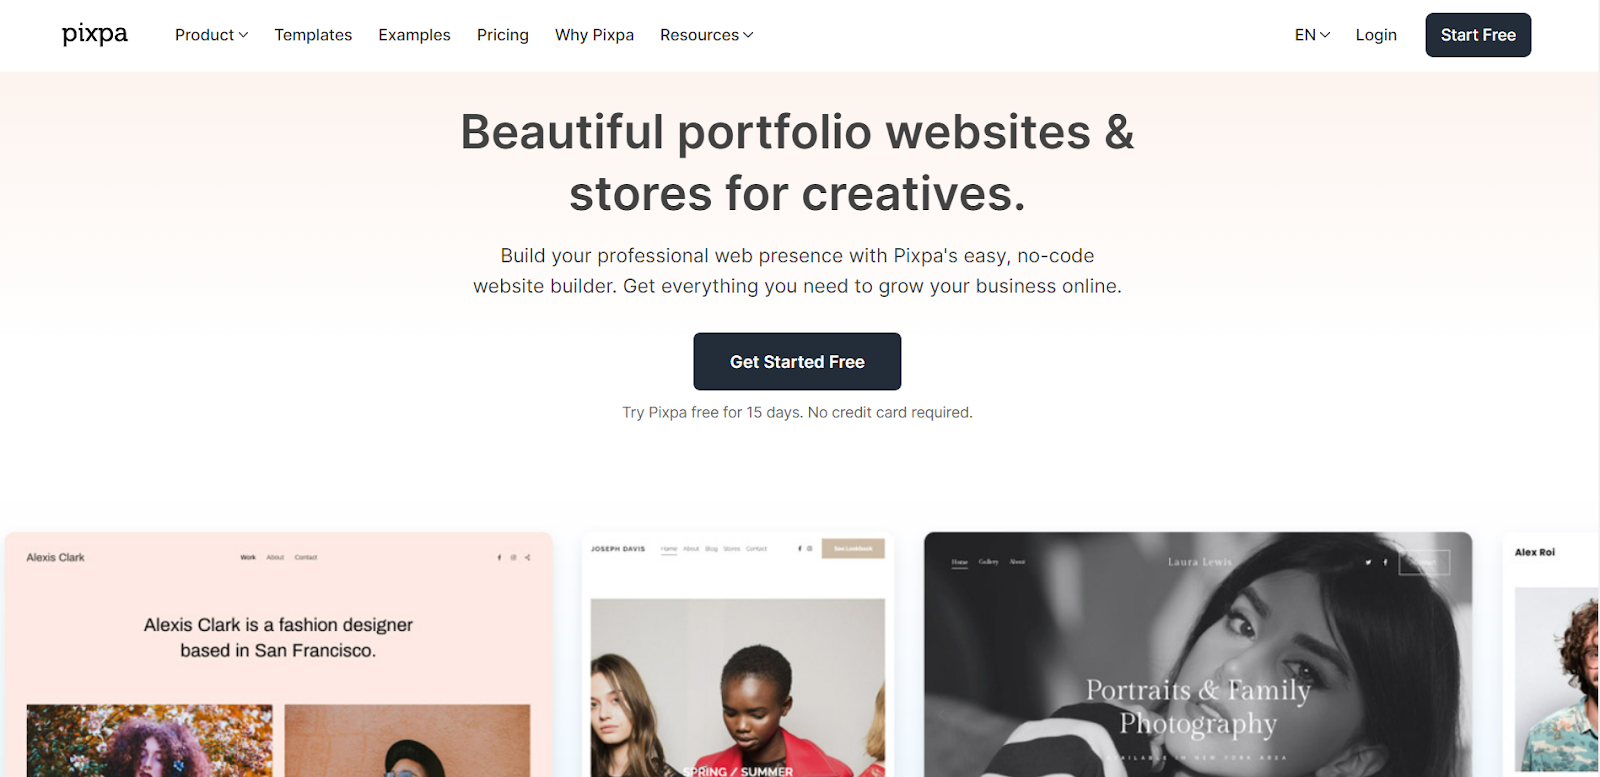
Step 1 – Sign up for Pixpa by clicking on the Start Free button on the top right-hand corner of the Pixpa homepage. Sign up using your email. That’s all you need. No credit card information is required!
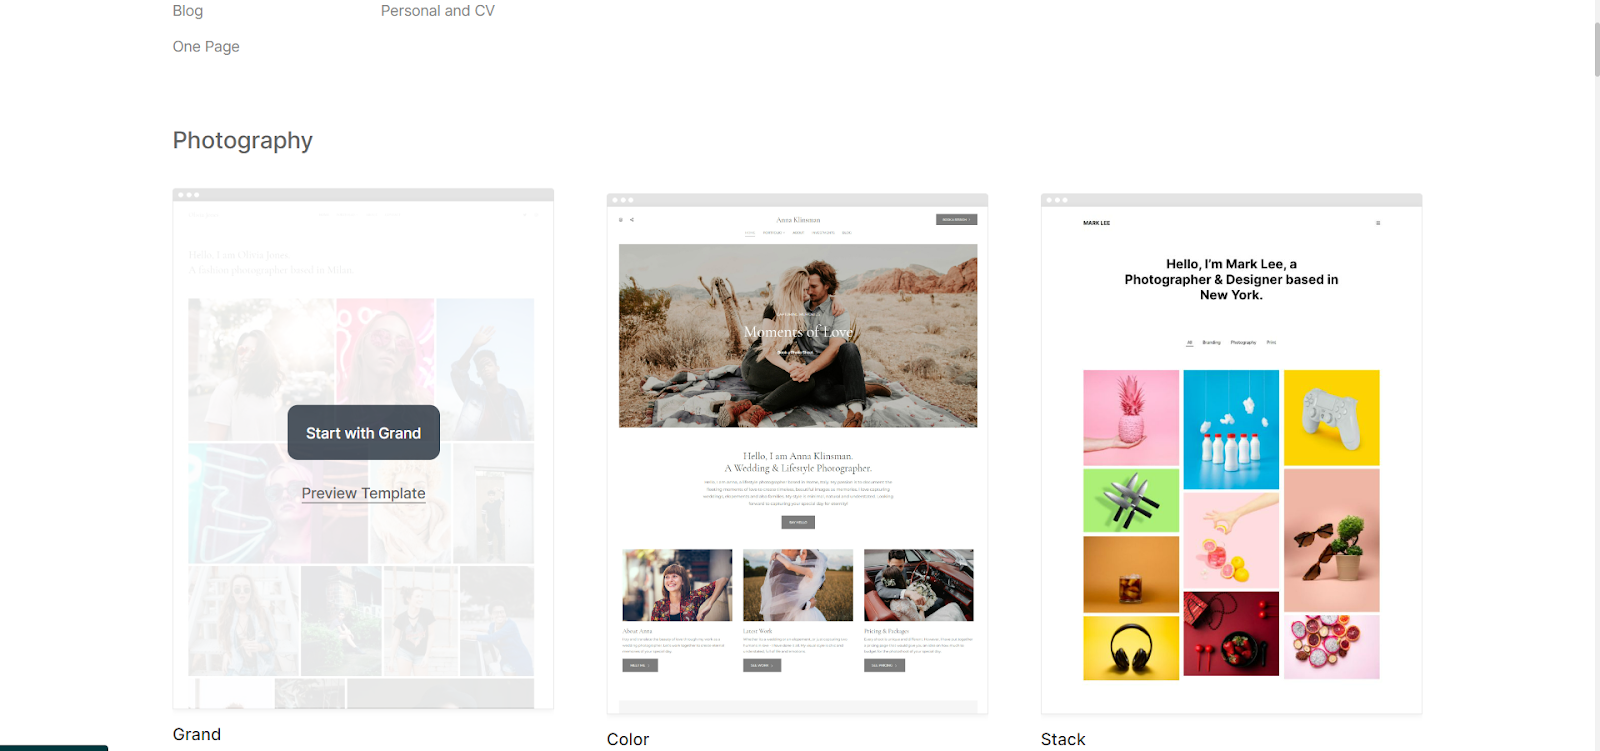
Step 2 – After selecting the type of website you want to create, you will be asked to choose a template of your choice. You will want a photography website template for your purpose.
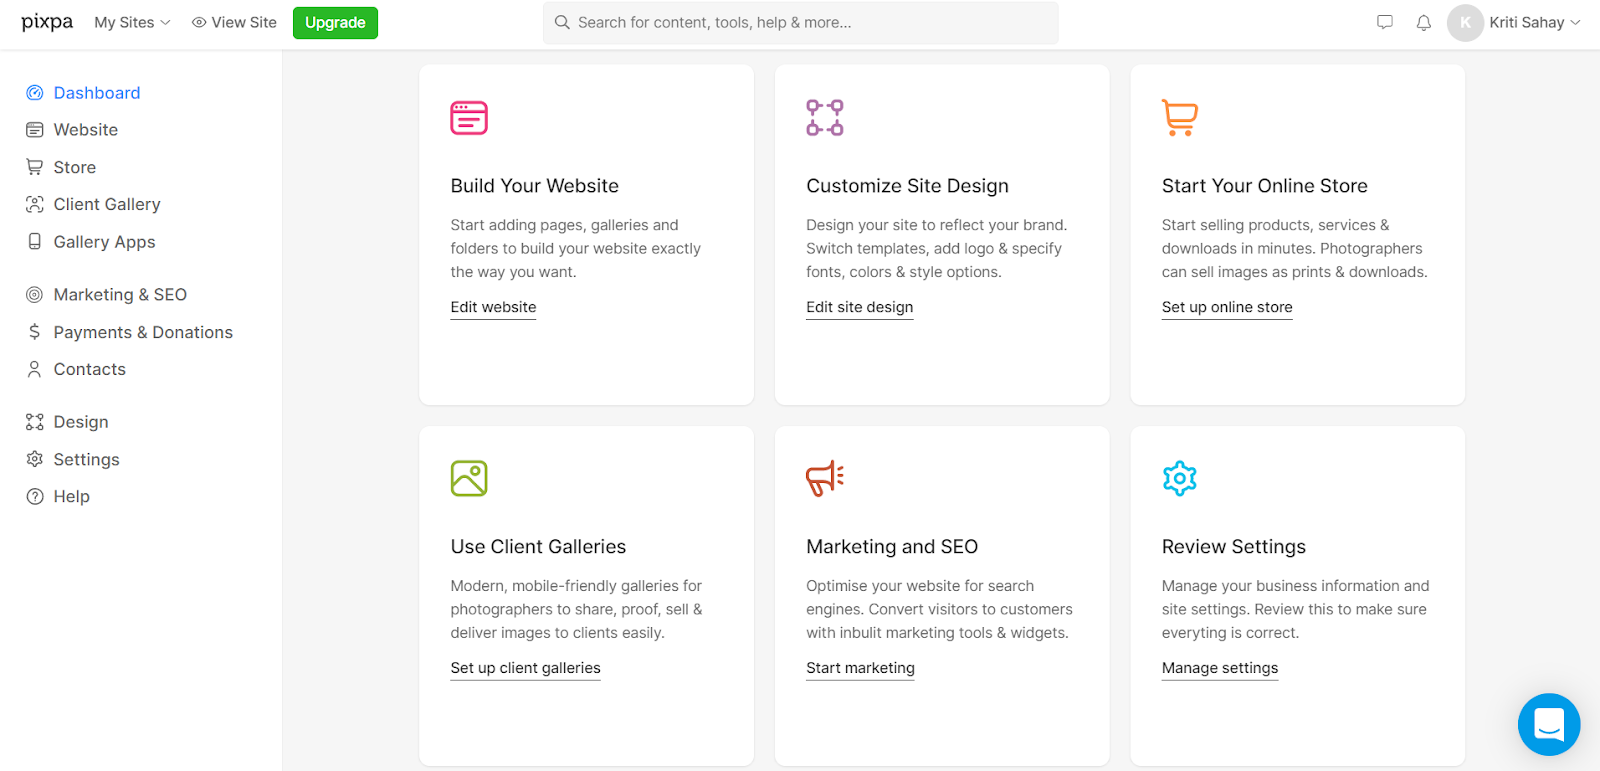
Step 3 – Use the Pixpa Dashboard to start building your photography website! Use the Build Your Website to add pages, galleries, and other menu items to your website. As you build your website, on the right-hand side of the screen, you should be able to see your site as it would appear when published.
Step 4 – The Customize Site Design option can be used to customize all of the visual aspects of your website from color themes, to fonts, sub-headings, headers, footers, and more.
Step 5 – Once you have your website all set up you can start selling your photos online by clicking on the Start Your Online Store option.
Selling Your Photos Online

Step 1 – Clicking on the Start Your Online Store will take you to the store dashboard. Here, click on the Sell Images option to activate ecommerce galleries.
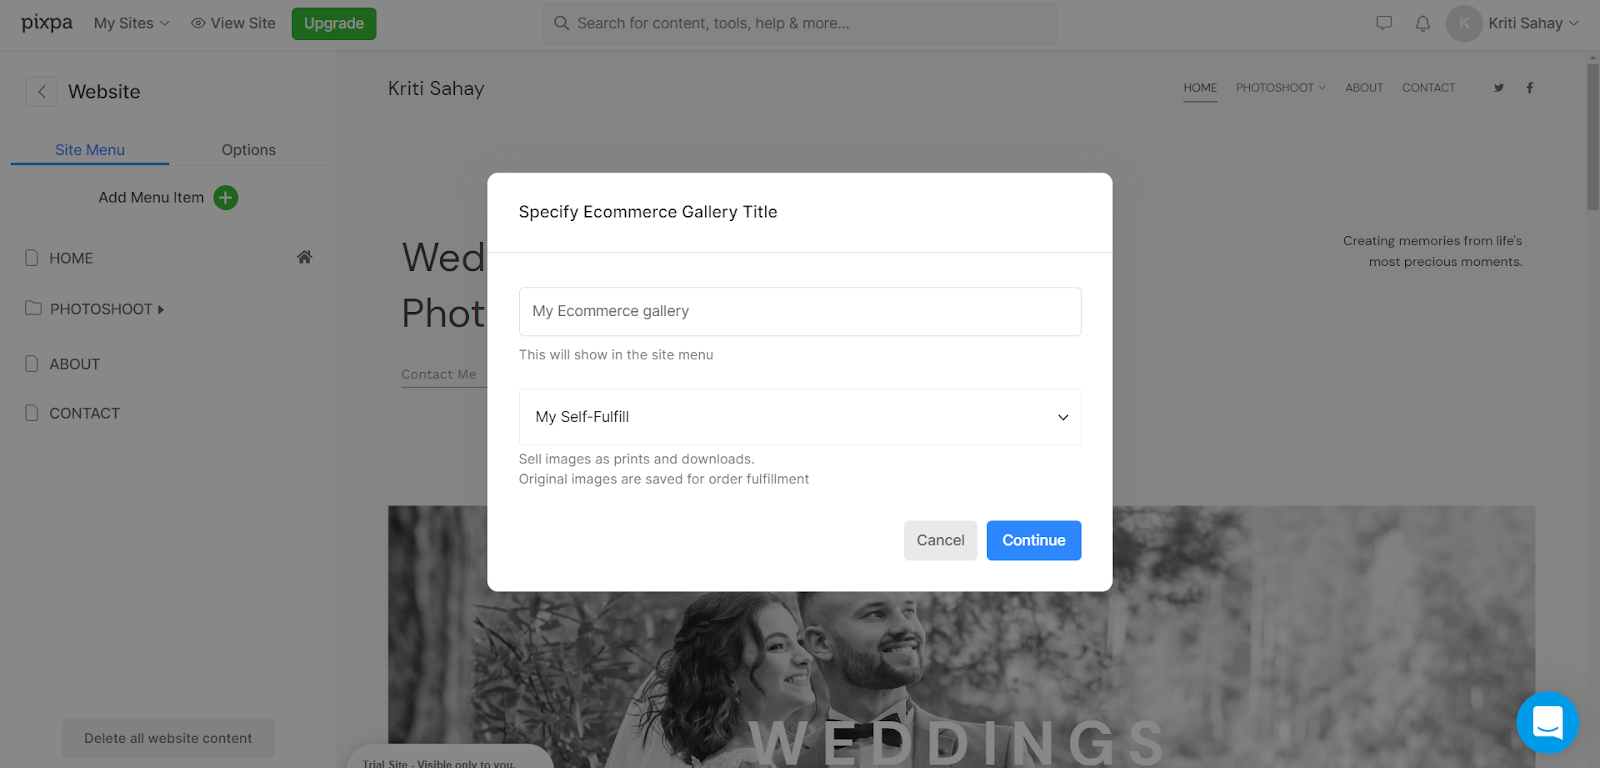
Step 2 – You will be automatically directed to the Website section of the main Pixpa dashboard to create your new ecommerce gallery.
Step 3 – By selecting the Add Ecommerce Gallery to your website option, you can add additional ecommerce galleries to your website at any time.
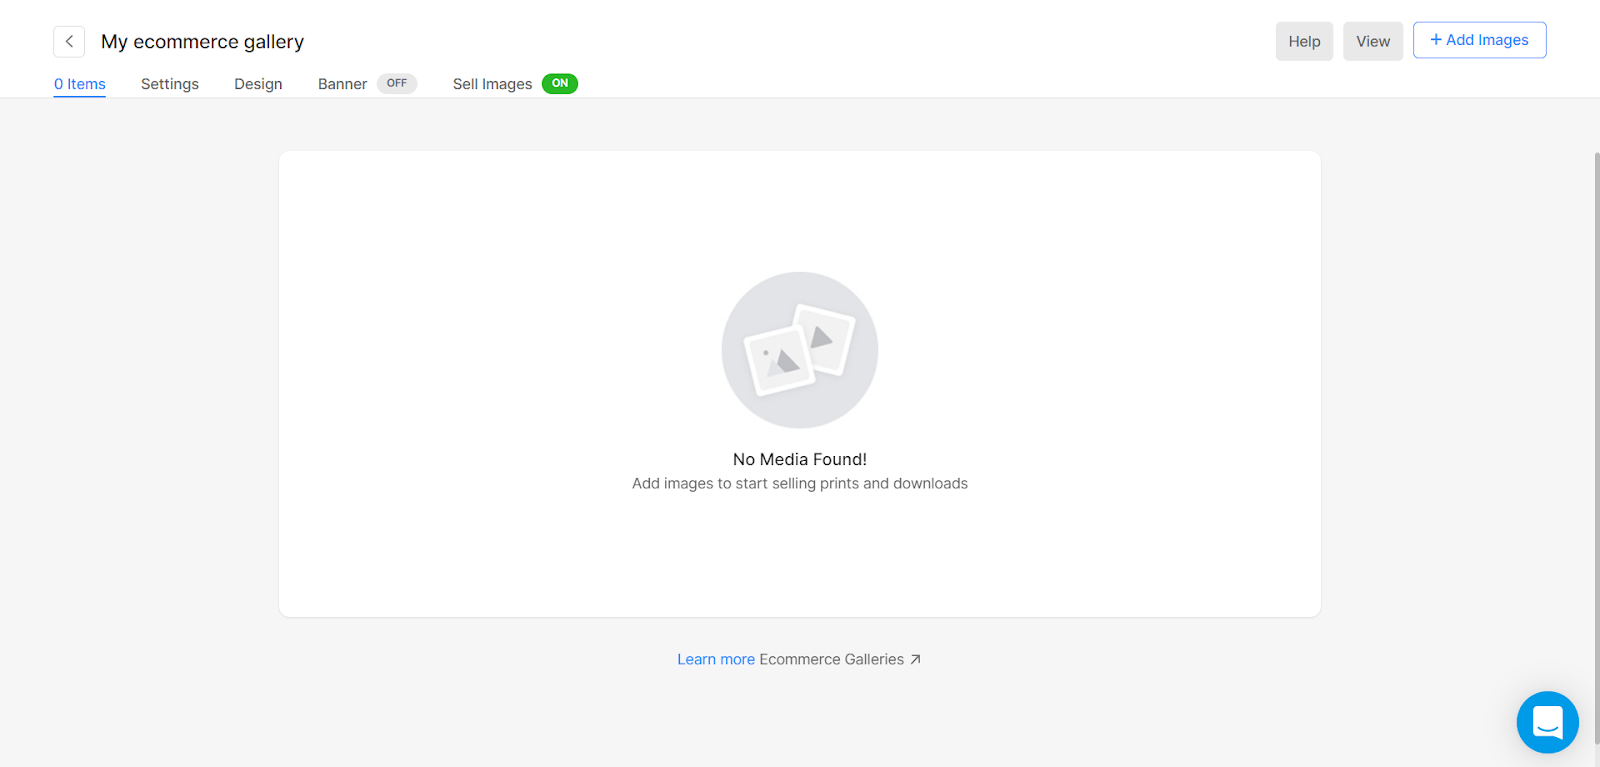
Step 4 – Once you have created your ecommerce gallery you will be redirected to the settings page for that gallery. Add the photos you want to sell by clicking on the Add Images button on the top right corner of the window.
Step 5 – Click on the Settings tab to edit the name of the gallery, change its visibility status, add a header and description or select a featured image for your gallery.
Step 6 – The Design tab can be used to edit gallery layouts, change grid spacing, colors, fonts, and more. You can use a drag-and-drop mechanism to change the sequence of images or sort by name or date added.
Step 7 – Use the Banner tab to add a custom banner to your ecommerce gallery or use the featured image as a banner.

Step 8 – Back on the store dashboard, click on Configure Store Settings to manage settings and add information like business address, store currency, payment methods etc.
Step 9 – Under the Checkout tab in store settings, you can enable or disable customer accounts, set minimum order value, edit checkout page fields, or reject orders based on address. You can also set up abandoned cart recovery tools, set a terms of use policy, and set up checkout and order status page messages.
Step 10 – The Website Cart Icon and Image Buy Button tabs allow you to edit some of the visual aspects of your ecommerce gallery like the cart icon.
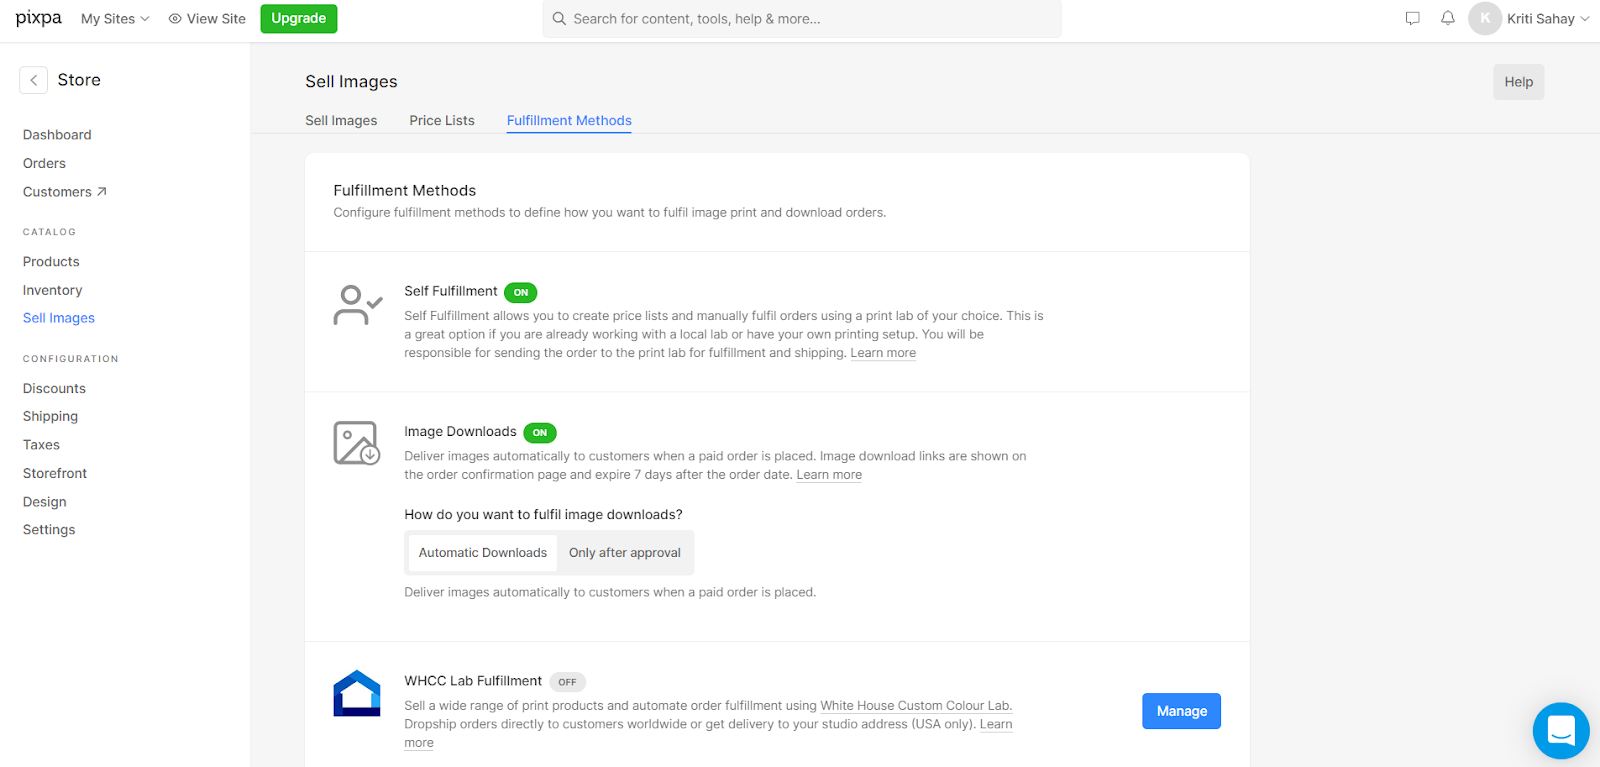
Step 11 – On the store dashboard, click on Setup Fulfillment Methods to select the mode of fulfillment for your print orders. The default fulfillment mode is self-fulfilled, however, you can also choose to auto-fulfill. For auto-fulfillment, you will have to create a WHCC account or add a print vendor of your choice.
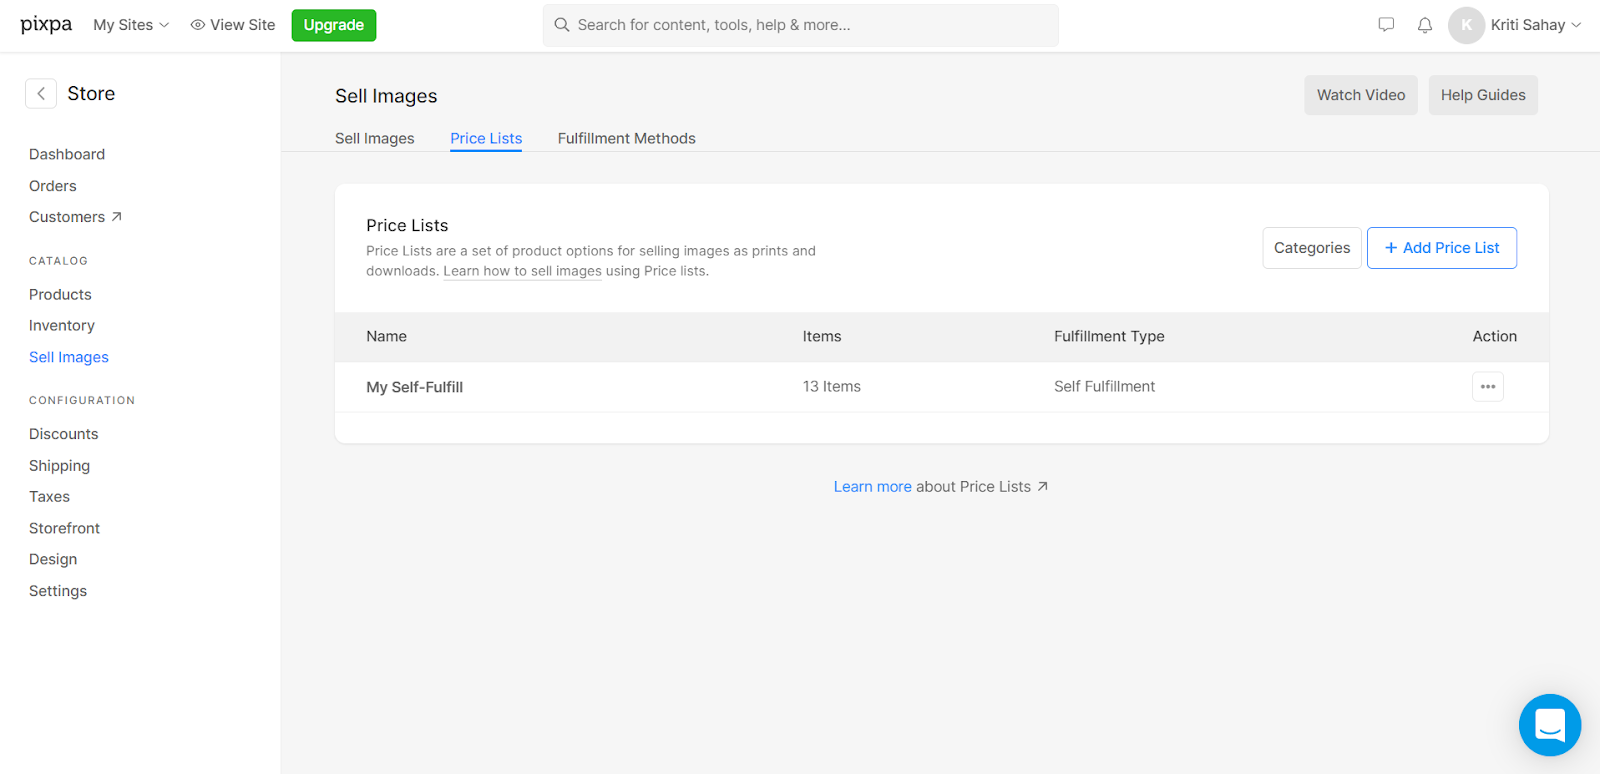
Step 12 – You can also create price lists for your print or photo download orders. Click on Create Price Lists for images on the store dashboards. Then click on the Add Price List button to add price lists for your ecommerce gallery.
Step 13 – Once you have your ecommerce gallery all set up and running, you can start managing orders. Click on Manage Orders on the store dashboards to view and fulfill orders and check on abandoned carts to send recovery emails.
Bonus Tip!
You can always click on the View Site button on the top left corner of your window to preview your website and see all the changes you make to it as it appears on the live site.
Final Word
There is no better platform for sharing, selling, and marketing your work than your own website. Having your own website gives you complete freedom and control over how you sell and market your photos and work. While there was indeed a time when website building was an expensive and complicated technical venture, that is no longer true. In fact, creating your very own photography website and selling your photos online has never been easier.
You can check out Pixpa on their free, 15-day trial here. No credit card is required. Use code DP50 to get 50% off yearly plans or 63% off 2-year plans.