Do you have a problem with blurry indoor photos? I sometimes do, so I did some research to see what’s up and how I can fix it.
Getting the Proper Exposure
Properly exposed photos involve getting the right combination of shutter speed, ISO and lens opening (aperture). The longer the shutter stays open, the more light gets in, but also the more blur that can result because it takes a bit longer for the photo to be taken. When the available light is lower, the camera on auto mode sometimes uses a slower shutter speed to capture more light and that can cause blur.
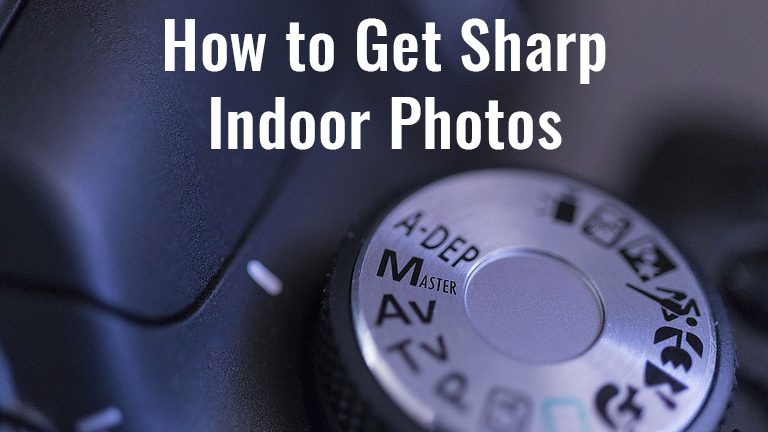
Using Your Camera’s Manual Mode
My Nikon DSLR has a lot of auto features that work ok most time, but especially indoors, getting off auto and using manual settings will make a big difference.
Set the ISO to a higher value, typically 400 ISO or even 800 depending on how much light you have, for indoor shots.
You will need to adjust the exposure priority. This means either setting the Shutter Speed to a higher number or set the Aperture (AV) to a wider aperture because a bigger lens opening lets in more light. Note that a bigger aperture number, i.e. f/16, has a smaller opening than a smaller aperture number like f/4. Confusing I know. It helps to think of it as a fraction: 1/16 is smaller than 1/4.
Probably the most important component is the Shutter Speed. You need a fast enough shutter speed to avoid blur from hand-shake when hand-holding your camera. The general guideline is to use the reciprocal of the focal length of your lens: So you want a minimum shutter speed of 1/(focal length of your lens).
If you have an APS-C cropped lens camera vs a full-frame 35mm camera, you will need to go a step further and calculate the effective focal rate. So for a 50mm lens, you need a minimum shutter speed of 1/(50 x 1.6) = 1/80 sec. Remember this is a minimum.
Other Options
There are a few other things you can do to help.
- Enable Image Stabilization – If your camera has it, enable the image stabilization feature. This will slightly lower the minimum shutter speed needed.
- Set the exposure compensation. Your camera has a little button with a +/- on it. Press that button and turn the main dial on your camera left to decrease the exposure and to the right to increase the exposure.
- Try NOT to use the digital zoom because it lowers the quality of the image, i.e. it won’t be as sharp.
- I also like to set my camera for continuous shooting, which is helpful especially when photographing pets or kids.
This may involve a bit of playing around with the settings until you are happy with your shots, but fortunately, all you have to do is delete the bad ones. It will help you in the long run so you don’t have to spend so much time in your editing software trying to fix your images. And remember, you cannot “fix” a blurry photo and make it sharp after the fact.