Saturday I was in Kohls and the store was already playing holiday music! While I think it is a bit early for that, it’s not too early to be planning your Christmas or Hanukkah photo card. One of my favorite holiday traditions is opening envelopes with photo cards. It’s a nice way to stay connected and see how much our distant friends and relatives have changed and how the kids have grown. I also like seeing how creative people are with their photos. I’ve received everything from a beautiful black and white photo of a family against a background of an empty beach to what you might call a “Beverly Hillbillies” theme (I’m being charitable) that I scratched my head over. Whatever you have in mind, if you want to make your holiday card look extra special this year, read my tips below on how to get the perfect shot and capture the spirit of your family.
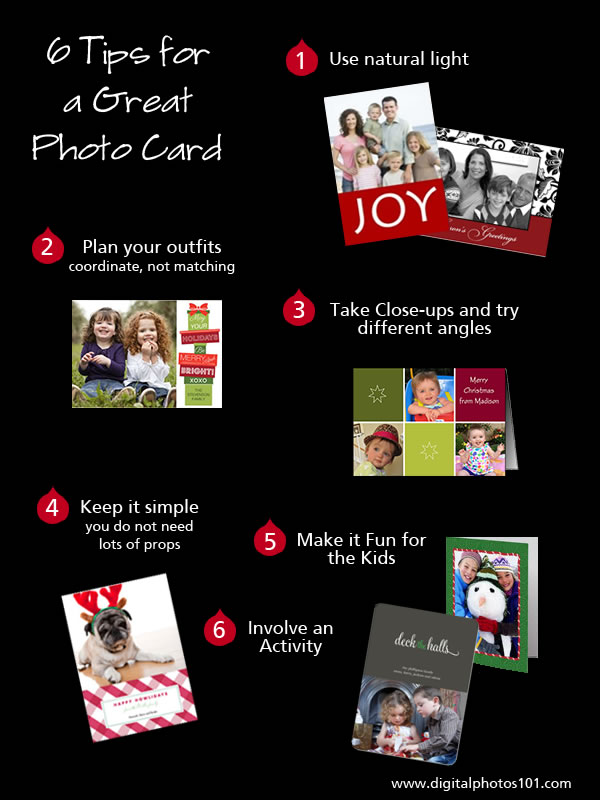
1. Start with the right light. This is critical to getting a great photo. Plan to take your photos outdoors in natural daylight – bright indirect light away from direct sunlight. Early morning and late afternoon just before sunset have the best, softest light. Avoid the harsh midday outdoor light where your subjects will be squinting into the sun and faces may be shadowed. If you must shoot indoors, take your photos near a large window. Do not, repeat do not, use your flash. The flash will bounce shadows, and produce harsh lighting, not to mention red eye.
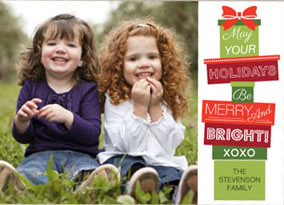
2. Plan your outfits – Coordinate clothes and colors. Coordinate does not mean identical. You don’t have to all be “matchy-matchy”; in fact that’s somewhat of a dated look anyway. If you are all dressed the same, for instance blue jeans and white shirts, you tend to blend together and don’t stand out as individuals. Try for neutrals with one or two complementary colors or similar tones.

3. Take Close-ups and Try Different Angles– Getting close up makes your photos look more personal and there is no background distraction. In fact, you don’t need some amazing background to get some wonderful photos. Try different angles. Lay on the ground and shoot up, or stand on a step ladder and shoot downward. I like shots taken from above where everyone is laying on the ground with their heads together. Play with a few different angles take lots of shot and you will have more choices for your card.
4. Keep it simple – While props can be fun, if you go overboard it can be a distraction instead of an enhancement (see above “Beverly Hillbillies” theme.) That is not to say don’t use them. One of the cutest ideas I have seen recently is where the subjects draped Christmas lights over their shoulders. A simple prop but very effective. Try just a simple background like an empty beach, an attractive stone wall or hedge. Be sure to check the background for distracting objects or things like trees branches that may appear to be sprouting from someone’s head.
 5. Make it Casual and Fun – First off, do your photo shoot during a happy time, although with kids it can be hard to predict when everyone will be in a good mood and getting along with each other. Planning around nap times and meals can help and bribing them with a reward afterward couldn’t hurt. Let the kids burn off some energy before you start taking pictures. Let them run around and play a bit (as long as they aren’t rolling around on the ground getting dirty!). In fact you can take some photos while they are playing and you might get some great candid shots to include in the inside or back of your card.
6. Involve an activity. Photos that I find especially pleasing are ones where everyone looks happy and natural, not stiffly posed. Why not try something a little different, it could be baking Christmas cookies together in the kitchen, playing in the snow, building a snowman, a family field trip to select a tree (it’s ok, you can fake it if you don’t normally get a real tree).
 Once you’ve taken your photos, choose your card. There are so many option today. You can create a simple card on photo paper, a traditional 5×7 folded card, or a flat card printed on card stock. You can also get square cards or ones with rounded corners. To help you learn which companies offer certain styles and features, see my handy chart below. While not exhaustive, it lists some of the most popular photo companies. Since there are so many styles, sizes and paper options I am not including pricing. All these companies will be offering numerous sales and promos for the holidays. You can find the latest sale info here.
| Photo Company | Card Sizes | No. Card Designs | Card Paper | Special Features |
| Mixbook | 5×7, 5×5, 4×8, 4×6, 3.5×5 | 588 | Flat and folded cards. Satin coated, matte or premium matte (thickest) | Customize entire layout and move anything anywhere. Add stickers and embellishments. 30 second card editor. |
| Shutterfly |
4×8, 5×5, 5×7, 6×8 | 609 | Premium card stock folded and flat, photo paper | can use 4+ photos, customize font color, change some background colors. Print return address free. |
| Smilebooks | 5×7, 4×8, 4×6 | 200 | Flat and folded cards on 220lb card stock or flat photo paper (200lb laminated card). | Can use several photos depending on design. |
| Snapfish |
5×5, 5×7, 4×8 | 5811 | Flat and folded cards, folded note cards and postcards. Fine card stock and photo paper. | up to 4+ photos. Rounded corners on some designs. Flat 4×8 and 5×7 cards for pickup at Walmart, Walgreens, Meijer. |


