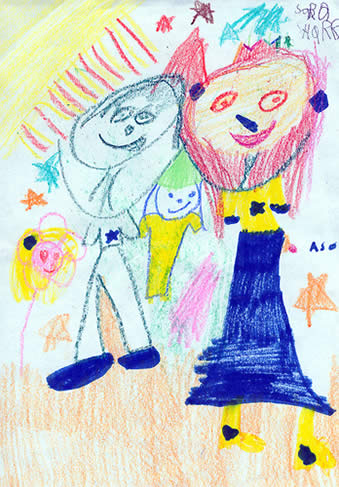
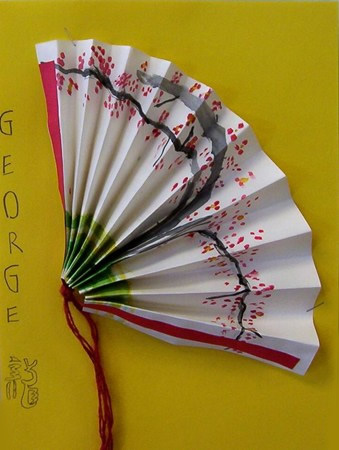
Most parents find their children’s artwork precious enough that they keep it for years. The problem is the artwork gets lost in the shuffle, there’s just way too much of it, or it disintegrates from dust and other environmental factors.
One way to make a lasting record of their projects is to create digital copies. Of course, this can be done in a variety of ways, the most obvious, using a scanner and sending the artwork right into your computer. But, many people do not own a scanner or find that the project is too large for the glass bed. Then, there are the 3-D projects like the volcano shooting lava, the sugar cube buildings, and the infamous macaroni figures which cannot be scanned at all. Instead, creative parents turn to photography. So let’s take a look at how to photograph your children’s artwork.
Lighting is Key
One of the very first things you should do is concentrate on the lighting. If you can, choose a room in the house that receives plenty of natural light from the outdoors. Try to find an environment that does not require your camera’s flash. Likewise, do not set up harsh artificial lighting, as the resulting photo may end up with deep shadows, taking away from the project itself.
Proper Positioning
Next, I would recommend getting right up over the artwork to take the photo instead of grabbing a skewed shot from the side. If you don’t point the lens down into the project, you usually get a distorted perspective. Where possible, pin the piece nice and flat on the wall or lay it neatly on the floor and shoot over it. Look at the photo closely for any dark shadows and then re-shoot if necessary until you get the right view.
Keep Paper Flat
The key to getting a great shot is to keep the paper completely flat. Sometimes, this is a little harder done than said because when the child paints a picture, the drying of the paint causes the paper to roll up and become stiff. Double-sided tape should work perfectly for this purpose. Just be sure the tape is not so strong that you cannot remove it when you are done. And use the tape sparingly only under the edges, not all around the whole piece of artwork.
A press with an iron can help as well to smooth out wrinkles and make the paper lie flat for photographing. Make sure the iron isn’t too hot, a low to medium setting will usually do, and then on the reverse of the paper, press out the area which sticks up. Be careful with steam, so that it doesn’t melt or fade the paint on the artwork. Don’t spray the piece with water, either. The heat should be enough to get the edges flat.
Avoid White Background
Often, when photographing, we are inclined to use a white background, thinking that the item we are capturing will look better and stand out. We don’t want distractions from colored or printed backgrounds, so we tend toward white. The problem with too much white, however, is that it causes problems with the exposure, especially if the drawing is already on a white sheet of paper. Your project will not be defined and will have blotches on the photograph. Sometimes, the off-color leaves you wondering what was in that spot, when in fact, there was nothing there. It was just a bad photo. Make sure you take into account the whiteness and either balance out the coloring or increase the exposure time.
A Tripod is Your Friend
Camera shake and movement seem to be a common problem, as well, when learning how to effectively photograph your child’s art pieces. Plenty of cameras, nowadays, tout the “anti-shake” feature, but still, if you want an end result that is crisp and clear, and free from blurring, use your tripod. If you don’t have access to a stand, use a fast shutter speed and you should find that the photo is in sharper focus. At the very least, brace the camera on something solid, just don’t depend on your hands.
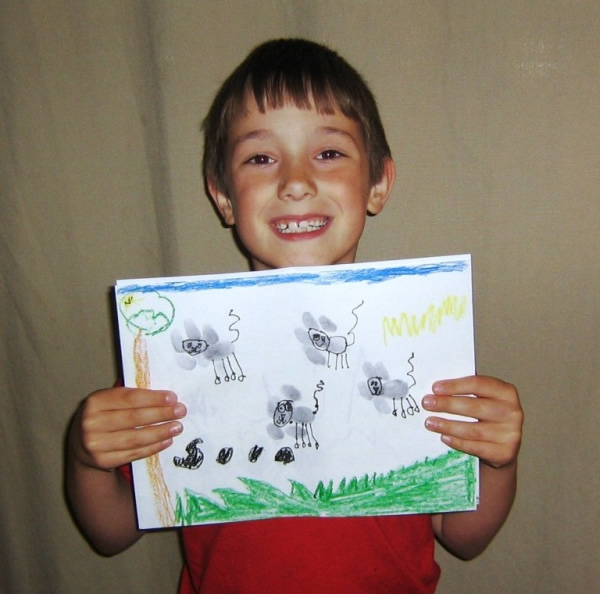
Include Your Kids
Don’t forget about the artist. Take a few shots of your little one holding up their work of art. or standing beside their project. They will be as proud as punch to show off their creations.
Showing Off Your Photos
Finally, once you capture those great shots, what can you do with them to make them really memorable? I thought that crafting little gifts or cards from the photographs would help your children to be proud of their accomplishments. Get the kids involved; after all, they created the artwork. For example, you could use a photo as the cover pic on a personalized birthday card to Grandpa and Grandma or even a lead-in pic for the family Christmas newsletter. Companies like Snapfish and Shutterfly
among others offer custom greeting cards; you just have to upload a photo, choose a design, and add a personal message.
If you have more than one masterpiece, turn the whole collection into a poster collage and hang it on the wall. Maybe you can create a photo book with captions or a photo calendar and give it to grandparents or faraway aunts and uncles — with Christmas coming up that would make a great gift and you can order multiple copies.
Lastly, you might enlarge your photographs and frame them to hang in your kid’s room or sit on their dresser or desk. There are just so many ideas to turn your children’s artwork into really fun photography art, so get snapping.
Do you have any more ideas for doing fun things with your kid’s art projects? Tell me in the comments below.