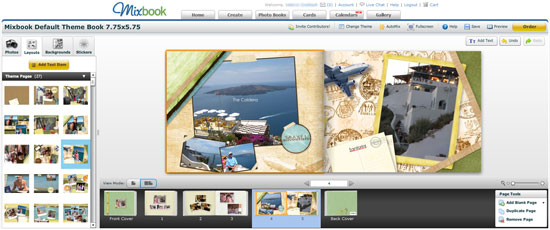
Printing a photo book to remember isn’t just about stunning photos or cool embellishments. The key to a great looking memento is to review, then proof it again…and again. Remember, your photo book is customized for you, by you. You chose the layout and colors, selected the photos, wrote the text, placed the images, etc. So what you put into your photo book is what you will get out of it. If you make mistakes, the photo site will print them as-is.
Check for Typos and Grammatical Errors
Start with proofing the text for typos and grammatical errors. While many online photo services have spellcheckers and you can even use spell check if you are creating your book in programs like InDesign, take the time to proof your text several times. Check for context. You know how it goes, you typed “mean” when you meant to type ”meal” but the spellchecker didn’t recognize it as a mistake.
Are the Fonts the Right Size and Do They Contrast With Background
You also need to assess whether the fonts are the right size for the page and layout. I find myself guilty of this on occasion. I have used the default font size when perhaps a larger font would be a better balance for the page. If possible, print your pages out and review them. Snapfish is one photo book website that allows this. Does the text look easy to read or does it look a bit lost on the page? Is the font color visible or is it too light or too dark for the background? If you are using a lot of text, avoid a busy background, otherwise the text may be hard to read no matter how much contrast it has with the background colors.
Avoid Putting Important Elements Too Close to the Edge
While bleeding images to the edge—meaning the photo edges extend all the way to the edge of the page—can make a great impact, make sure that important elements such as faces, feet, text and drop shadows are not too close to the outside edge or the center gutter. You don’t want to risk a chance that something crucial gets cut off during the printing process. A good rule of thumb is to leave 1/2 inch of space between important elements and the edge of the page. Bleeding sky or background scenery to the edge shouldn’t be a problem. Picaboo will show you a yellow “safety zone” around the page perimeter to indicate content that may get cropped during the printing process.
Are Images the Right Resolution for Printing
If you grabbed photos from Facebook or Flickr, be aware that typically they will not be in their original resolution. These sites have to reduce the resolution and file size for storage. If possible, use photos at their original resolution so they will print sharp and crisp. In most instances you will want to use photos with a minimum resolution of 1600 x 1200 pixels. If you use photos with insufficient resolution, they may look good on screen but they will look blurry and pixelated when printed.
Review Book One Last Time
You’re not ready to print your photo book yet. You have checked for typos, grammatical errors, and how the fonts look on the pages, and you are sure you used high resolution photos. You made sure that no important elements are too close to the trim edge. Now check everything again. This may seem like a no-brainer, but I have done this: I used the same image twice within the same book and never even realized it until after printing my photo book. Be sure to review every page element a final time to catch such errors and you won’t be disappointed.


