While it’s best to plan your photo book layout in advance, sometimes you can be in the middle of creating a book only to realize that the size just isn’t working for you. Maybe you got a lot of images from Facebook and they are lower resolution (meaning they will print better at a smaller size) or maybe you started rethinking your layout and feel a larger book size would better show off your pictures. What to do? All is not lost, you don’t have to start over from scratch. There are several online photo book sites, including Mixbook, Shutterfly and Snapfish that enable you to change book sizes midstream.
Here is the Process at Mixbook:
After logging in to Mixbook, go to your main project page to find the book you want to re-size. You’ll find a copy link next to it.
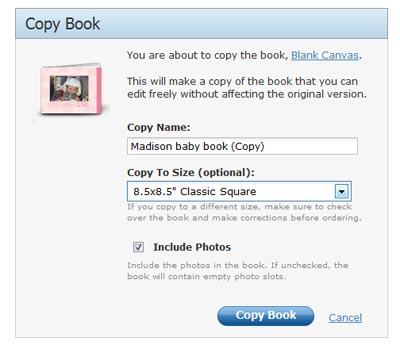
- Copy your book and give it a new name so you can edit the copy and preserve the original.
- There is a drop-down menu where you can choose your new book size. You also have the option to include the photos in the new book or just the layout. If you do not include the photos, your book will be a series of blank templates but will include all the embellishments, backgrounds, text and image boxes from your original. Then you can re-place the images as you wish.
- After you have selected your options, just hit “copy book” and your book will be copied to a new project at the size you specified.
If you’ve chosen a new size, especially going from a larger book to a smaller one, you will need to very carefully check each page to make sure every element is where you want it and that nothing important got cut off or is out of place in the new canvas.
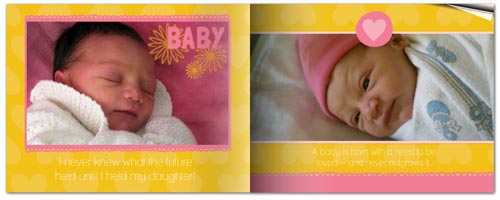
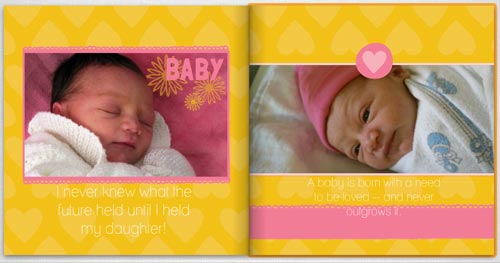
In Mixbook you can change from any book size to any other size, including a different shape. For instance, I changed a 8.5×11 book to an 8.5×8.5. The layout transferred pretty well, but there were some instances where the text was obscured by a photo because of the new shape, so I had to move some text here and there. But overall it was pretty easy. The takeaway is to check and recheck all the page elements. For more info, read my article on how to proof your photo book before printing.


How to Change Book Size in Shutterfly
Shutterfly also lets you change photo book size, but only within the same shape: from square to square or rectangle to rectangle. For instance, you can change from 8×8 to 12×12 but you can’t change from 8×11 to 12×12. If you are making a photo book using Simple Path, you can either click the “front cover” thumbnail from within your project and then click “change book size” and choose a new size, or you may do the same thing from the “Project” button.
If you are using the new Custom Path, you can change your book size any time by going to the “Book” drop-down menu in the edit view of the photo book screen and select “Change Book Size.” Then select the size you want and click “change Size.” Just like with Mixbook, you will need to carefully check each page to make sure your layouts, fonts, etc. are as you want them, but all in all Shutterfly makes it pretty easy.
Changing Book Size in Snapfish
Like Mixbook, Snapfish allows you to change to any book size you want, although they recommend keeping the same shape (rectangle to rectangle or square to square) to avoid design issues. When you change the size, Snapfish with automatically save your original and the new one as a copy. Start by going to “saved projects” then click the book you want to change and open the book builder. Next click “book” at the top of the page and choose the size of the book and cover in the menu, then click “apply.” Click “review your book” and be sure to check every page.
Review Your Book After Changing Size
As you can see, some sites let you change from one size to any other size or shape, but it is generally easier and will require less editing to stick within the same shape. If you have changed sizes, especially if you changed book shape, you will probably need to make a few adjustments. Here is what you should review in your book:
- Photos that may have been cropped or re-sized.
- Layouts that may have changed or elements such as embellishments that may have shifted.
- Captions, titles and other text that may no longer fit or could be obscured by a photo or text that now runs in front of a photo.
Visit Mixbook
Go to Shutterfly.com
Go to Snapfish.com


