If you want to do something creative with your photos, such as making a photo book, canvas print, mug, or calendar, you want the centerpiece — your photo or photos — to be the best they can be. This means the colors and tone are natural looking, the exposure is just right, etc. The place to start is with your editing software. Here is a guideline on making simple corrections and preparing your images.
1: Capture Your Image At Maximum Pixels
For maximum flexibility and optimum quality for print, select your camera’s highest quality setting (highest megapixel available). If your camera has it, select Adobe RGB as opposed to sRGB color space.
2: Cropping
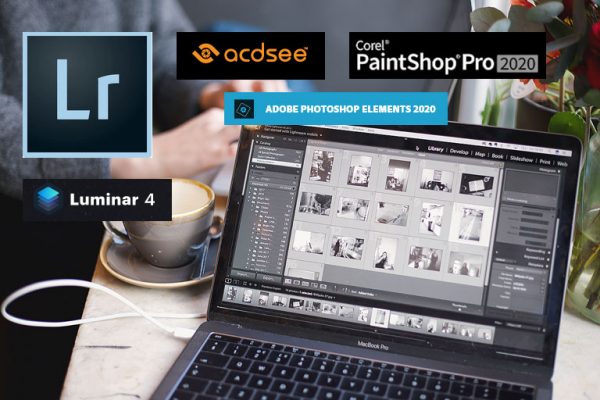
Open your image in your editing software such as Photoshop Elements, Corel Paintshop Pro or ACDSee and crop your image to your desired size. When setting the crop size use inches or centimeters for the units of measure. Set the resolution to 240 or 300 pixels, which is best for print reproduction. Click and drag the crop marquee to the area of the image you want to keep; the areas outside of it will be cropped.
3: Making Tone and Color Adjustments
Luckily, many photo editing software programs offer one-click adjustments so you can adjust the tone, highlights, shadows, contrast and color in one or maybe two steps. For instance, in Corel Paintshop Pro using the Smart Photo Fix Tool, I can make automatic photo corrections and if I don’t like the suggested settings in dialog box I can tweak them until I like them.

Most of these graphics programs also allow you to make entirely manual adjustments. This takes a little more time and some trial and error but it can be well worth it. For tonal adjustments use the Levels adjustment and optimize the histogram. You can also make color corrections using levels to remove color casts and set a grey point. I won’t go into detail here as that would be a whole tutorial. Photoshop CS3 and up has something called Variations (Adjustments > Variations) that is more user friendly if you are intimidated with trying to make color corrections. Select the Midtones radio button and adjust the fine/course slider. You’ll get a variety of thumbnails and you can click the one you like best.
4. Cleaning Your Picture
Sometimes there are blemishes, dust, scratches or an unsightly object in the background that you want to remove so your image looks flawless in that photo book, calendar or mug you are making. In most programs you will find tools like a clone tool or spot healing brush to fix these issues pretty handily. I like to start with the spot healing brush (PS Elements) or Blemish Fixer (Paintshop Pro). Zoom in, choose the right size brush that just covers the width of the scratch or blemish and click and drag the tool over the blemished area. If you need to fix a large area the Clone Stamp Tool is usually appropriate. I like to take some samples for cloning from different areas and reduce the opacity to make the repairs look more natural.

5. Sharpening
The final step is to sharpen your image. Most photos will benefit from sharpening even if they appear to be in sharp focus. Zoom to 100%. In most cases you will use the Unsharpen Mask. In Photoshop and Photoshop Elements (Filter > Sharpen > Unsharpen Mask), good settings to start with are 100% for the Amount (this controls how much darker or lighter the pixels are adjusted), 1 pixel Radius (controls the width of the adjustment at the edges) and a Threshold of 3 (sets where the effects occur — zero affects all pixels while a high threshold affects only the edges where there is a high tonal differentiation).
If all this editing sounds overwhelming, there is a plug-in that you might like called Perfectly Clear that works with Photoshop and Photoshop Elements. It will make 12 automatic corrections for you including color, tone, highlights/shadows, sharpen, all in just a few seconds. It really is amazing and cuts down greatly on editing time, especially if you are working with a lot of images. You may still need to do some cleaning, i.e. use your software’s healing brush to fix blemishes. You can get Perfectly Clear from Athentech and once installed it is accessed from the Filters menu.
6. Save Your Image
Click on File > Save As and give your modified image a name, saving it as a PSD file so you can go back and re-edit if needed. For making personalized gifts, i.e. if you plan to upload your image to a photo site, you will want to duplicate and save your image as a JPEG because that is typically the accepted format most companies use. Be sure to give your JPEG a NEW name from the original captured image so you don’t accidentally override your original. It is always smart to keep a copy of your original image just in case.
Now you are ready to upload your image(s) to your favorite online photo site and have fun creating unique gifts for your loved ones.
Related Posts
Photoshop Elements Image Editor and Organizer
Corel Paintshop Pro Photo Editing Software
ACDSee Photo Editor for Organizing and Editing